


Environment
I used the following environment in a VirtualBox Virtual Machine:
- Fedora 20 (64-bit) - Fedora KDE Spin Download
- JBoss A-MQ 6.1 - JBoss A-MQ 6.1 Download
- SOAPUI 5 Linux (64-bit) (includes HermesJMS 1.14) - SOAPUI Download
- HermesJMS 1.14 - HermesJMS Download
JBoss A-MQ Setup
Step 1: Download JBoss A-MQ 6.1 from JBoss A-MQ 6.1 product page.
Step 2: Extract the files to a AMQInstallDir
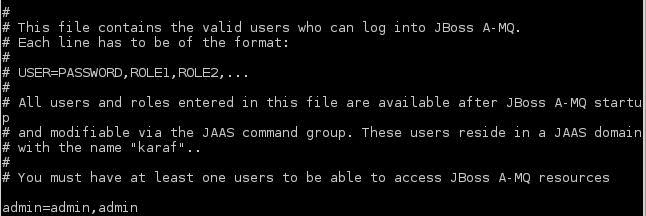
Step 3: Uncomment the admin credentials in AMQInstallDir/etc/users.properties. You should modify the username and password in your environment to unique credentials.
Step 4: Start JBoss A-MQ by running the ./bin/start from the AMQInstallDir.
Step 5: Verify the installation by running Producer and Consumer clients.
- Run the Producer from the AMQInstallDir with the command below. The producer will connect to the broker and produce 100 messages.
java -jar extras/mq-client.jar producer --user admin --password admin- Run the Consumer from the AMQInstallDir with the command below. The consumer will connect to the broker and consume 100 messages.
java -jar extras/mq-client.jar consumer --user admin --password admin
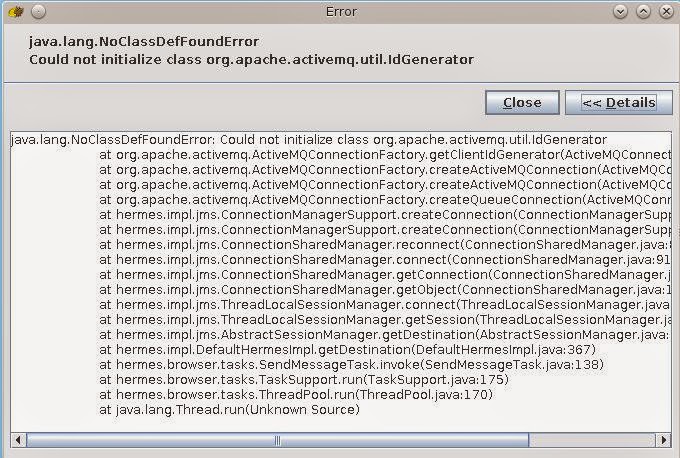
Step 6: Open the apache-activemq-5.9.0.redhat-610379-bin.zip file that is in extras as we need two jar files. Extract activemq-all-5.9.0.redhat-610379.jar and lib/geronimo-j2ee-management_1.1_spec-1.0.1.jar to the extras directory.
SOAPUI and HermesJMS Setup
Step 1: Download the SOAPUI distribution which will be a shell script
Step 2: Change the permissions to make the install script, SoapUI-x64-5.0.0.0.sh, executeable, ie chmod 755 SoapUI-x64-5.0.0.sh
Step 3: Run the setup script ./SoapUI-x64-5.0.0.sh and run SOAPUI at the end of the installation
Step 4: Download and then install HermesJMS standalone, ie java -jar hermes-installer-1.14.jar
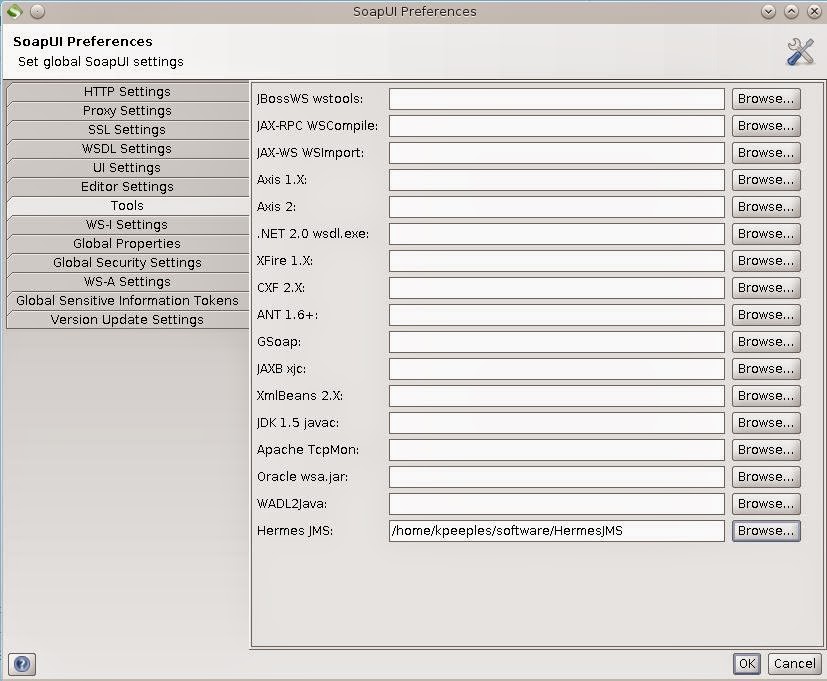
Step 5: Point SOAPUI tools to the HermesJMS Standalone instead of the included HermesJMS distribution.
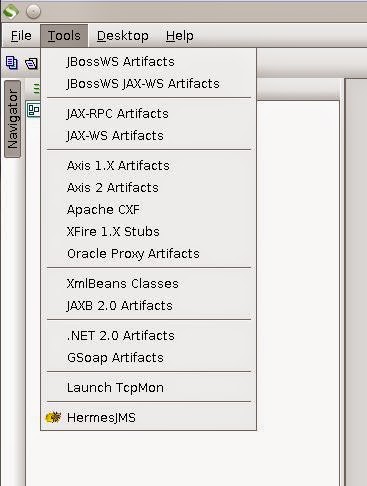
Step 6: Start HermesJMS from the SOAPUI menu
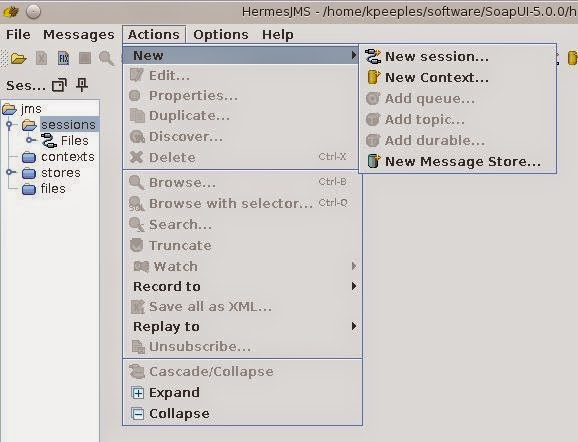
Step 7: Create a new session by going to Actions, New, New Session
Step 8: Setup the Provider so it is the same as the below.
- Click on the Providers tab at the bottom of the screen.
- Right click in the Classpath Groups panel and click add group.
- Right click on the Library panel and click add jars.
- Click on the Scan button when prompted. Make sure to add both jars.
- Click Apply and then the Sessions tab.

Step 9: Setup the session so it is the same as the below.
- Change the session name, ie JBossAMQSession.
- Update the loader and class in the Connection Factory to the JBossAMQGroup Loader and the org.apache.activemq.ActiveMQConnectionFactory Class
- Right click in the Connection Factory Panel and add the brokerURL property with the value tcp://localhost:61616.
- Change the plugin to ActiveMQ and add the properties
- serviceURL with property service:jmx:rmi://jndi/rmi://localhost:1099/jmxrmi
- brokerName with property localhost
- Add the TEST queue name in destinations with a domain of QUEUE
- Click on the user credentials and add user admin and password admin
- Click Apply and Ok

Send a test message
Step 1: Click on the Session, JBossAMQSession, and destination, TEST that were created.

Step 2: Click on Messages and then Send TestMessage from the menu. Select a text file that you want to send as a message and click Send file to TEST.
Step 3: Click the Refresh icon in the toolbar. You will see the message you sent.
