
How to be a JBoss A-MQ and Android Rock Star in the world of the Internet of Things!
I wanted to pull together a simple example of how to leverage Red Hat JBoss A-MQ in the Internet of Things (IoT) through the use of Message Queue Telemetry Transport (MQTT) in Android. The first part of the article will highlight the concepts and technologies used in the demonstration. The second part will get you up and running with an example in a couple of minutes just like a rock star. The example shows how easy it is to publish and subscribe to a topic in JBoss A-MQ from Android using the MQTT Client.
Part 1 - The concepts
What is MQTT?
MQTT is a machine-to-machine (M2M)/"Internet of Things" connectivity protocol. It was designed as an extremely lightweight publish/subscribe messaging transport. It is useful for connections with remote locations where a small code footprint is required and/or network bandwidth is at a premium. [1]
MQTT is now an open standard through OASIS. The first meeting of the OASIS MQTT Technical Committee was held on 26 March 2013 in Boston as a F2F (Face 2 Face) meeting. [2] A very good overview on MQTT from Dave Locke is in the references. [3]
What is Red Hat JBoss A-MQ?
What supporting projects are included in the demonstration?
The demonstration includes code from the Red Hat JBoss Fuse MQTT Client library that Hiram Chirino started. The library supports Blocking, Future and Callback/Continuation Passing Based APIs. The source is located in the references. [4] I included the library in the project. I also utilized the code from Jason Sherman for the sample Android Application. [5] [6] In addition I utilized Eric Schabell's JBoss Rock Star template for a quick build of the demonstration. [7]
The only updates to the activemq.xml file that are required are:
1. The transport connector for mqtt. The standard port is 1883.
<transportConnectors>
<transportConnector name="openwire" uri="tcp://0.0.0.0:61616"/>
<transportConnector name="mqtt" uri="mqtt+nio://0.0.0.0:1883"/>
</transportConnectors>
2. To enable security we just use the SimpleAuthenticationPlugin.
<plugins>
<simpleAuthenticationPlugin>
<users>
<authenticationUser username="system" password="manager" groups="users,admins"/>
<authenticationUser username="user" password="password" groups="users"/>
<authenticationUser username="guest" password="password" groups="guests"/>
</users>
</simpleAuthenticationPlugin>
</plugins>
The main code in the Android app is in the MQTTActivity.java file in the org.example.mqtt package. The android app UI is in the main.xml and can be seen in the graphical layout.
Part 2 - The demo
Steps to build and run the demo
1. Download the code from github at https://github.com/kpeeples/a-mq-android-mqtt
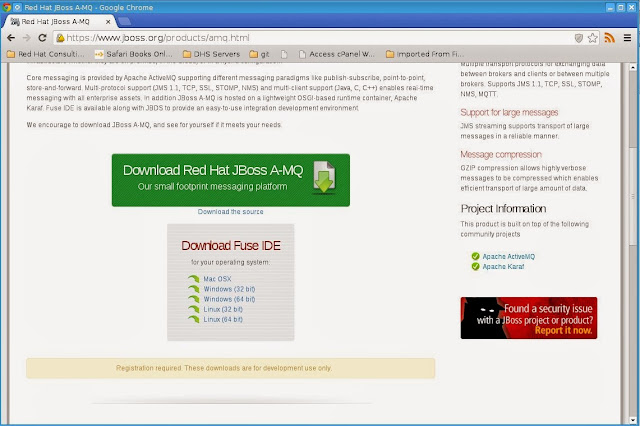
2. Download Red Hat JBoss A-MQ from https://www.jboss.org/products/amq.html and place in the installs directory.
3. Download the Android Bundle from http://developer.android.com/sdk/index.html and unzip.

4. Download and start JBoss Developer Studio 7 or the Fuse IDE.
5. Add the Android Developer Plugins http://rgladwell.github.com/m2e-android/updates/
6. Create a Android Virtual Device (AVD) through JBDS in the Android Virtual Device Manager in the Window menu. If the Android Virtual Device Manager does not show on the Window menu then Click on Window > Customize perspective > Command Groups Availability tab. Check the "Android SDK and AVD Manager" option and hit the OK button.
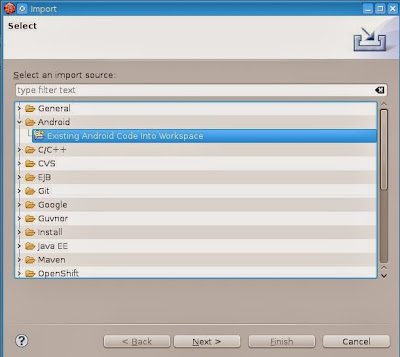
7. Import the Android project in JBDS
8. Run the init.sh to setup A-MQ
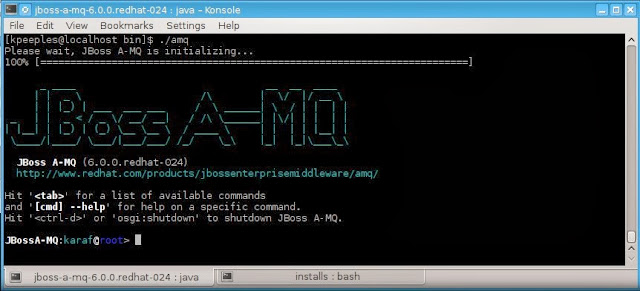
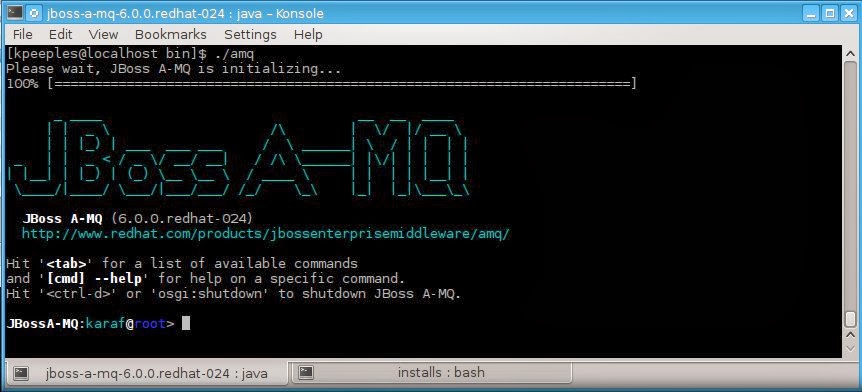
9. Start A-MQ in the foreground by executing target/jboss-a-mq-6.0.0.redhat-024/bin/amq
10. Right click on AndroidManifest.xml and Run As Android.
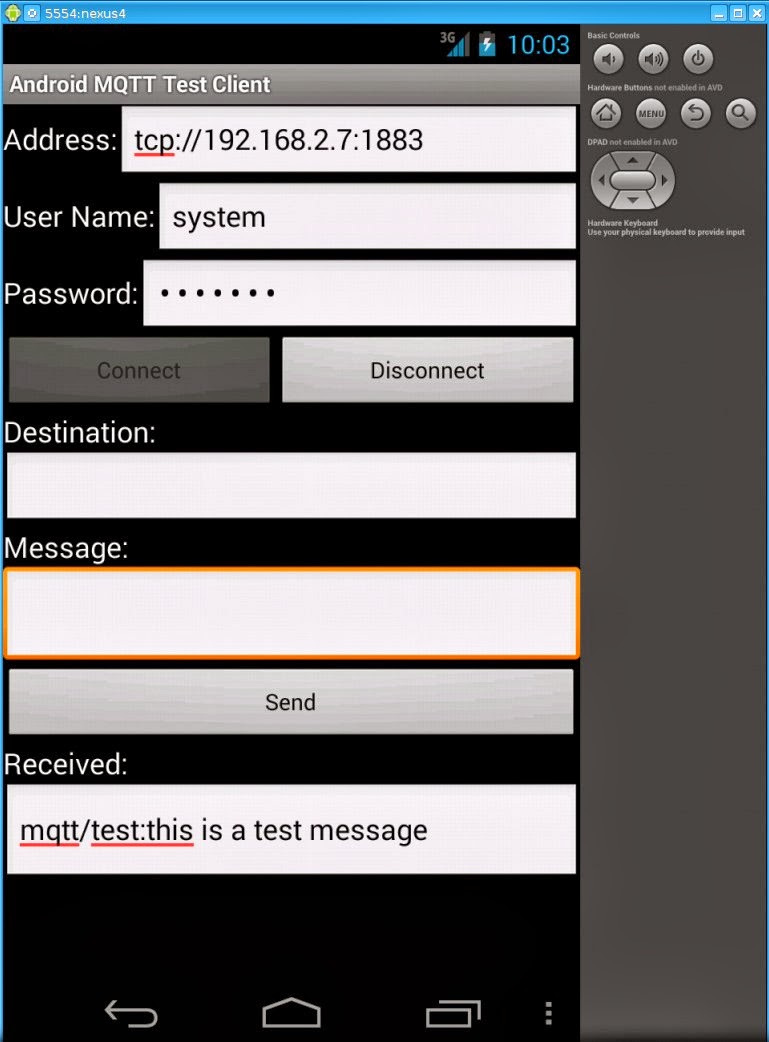
11. Connect to the broker and make sure to use the IP instead of localhost and use a username/password entered from the activemq.xml
12. Enter a destination topic and a test message then click send
13. The message will sent to the topic, read from the topic and then placed in the received field.

References:
[1] http://mqtt.org/
[2] https://www.oasis-open.org/committees/tc_home.php?wg_abbrev=mqtt
[3] https://www.oasis-open.org/committees/download.php/49205/MQTT-OASIS-Webinar.pdf
[4] https://github.com/fusesource/mqtt-client
[5] http://java.dzone.com/articles/android-mqtt-activemq
[6] https://github.com/jsherman1/android-mqtt-demo.git
[7] https://github.com/eschabell/jboss-rock-star-template
[8] https://www.jboss.org/products/amq.html
I wanted to pull together a simple example of how to leverage Red Hat JBoss A-MQ in the Internet of Things (IoT) through the use of Message Queue Telemetry Transport (MQTT) in Android. The first part of the article will highlight the concepts and technologies used in the demonstration. The second part will get you up and running with an example in a couple of minutes just like a rock star. The example shows how easy it is to publish and subscribe to a topic in JBoss A-MQ from Android using the MQTT Client.
Part 1 - The concepts
What is MQTT?
MQTT is a machine-to-machine (M2M)/"Internet of Things" connectivity protocol. It was designed as an extremely lightweight publish/subscribe messaging transport. It is useful for connections with remote locations where a small code footprint is required and/or network bandwidth is at a premium. [1]
MQTT is now an open standard through OASIS. The first meeting of the OASIS MQTT Technical Committee was held on 26 March 2013 in Boston as a F2F (Face 2 Face) meeting. [2] A very good overview on MQTT from Dave Locke is in the references. [3]
What is Red Hat JBoss A-MQ?
A small footprint, high performance, open source messaging platform based on Apache ActiveMQ. [8] Under the Red Hat Developer program the JBoss A-MQ Enterprise software is available for developers to try, FOR FREE!
What supporting projects are included in the demonstration?
The demonstration includes code from the Red Hat JBoss Fuse MQTT Client library that Hiram Chirino started. The library supports Blocking, Future and Callback/Continuation Passing Based APIs. The source is located in the references. [4] I included the library in the project. I also utilized the code from Jason Sherman for the sample Android Application. [5] [6] In addition I utilized Eric Schabell's JBoss Rock Star template for a quick build of the demonstration. [7]
The only updates to the activemq.xml file that are required are:
1. The transport connector for mqtt. The standard port is 1883.
<transportConnectors>
<transportConnector name="openwire" uri="tcp://0.0.0.0:61616"/>
<transportConnector name="mqtt" uri="mqtt+nio://0.0.0.0:1883"/>
</transportConnectors>
2. To enable security we just use the SimpleAuthenticationPlugin.
<plugins>
<simpleAuthenticationPlugin>
<users>
<authenticationUser username="system" password="manager" groups="users,admins"/>
<authenticationUser username="user" password="password" groups="users"/>
<authenticationUser username="guest" password="password" groups="guests"/>
</users>
</simpleAuthenticationPlugin>
</plugins>
The main code in the Android app is in the MQTTActivity.java file in the org.example.mqtt package. The android app UI is in the main.xml and can be seen in the graphical layout.
Part 2 - The demo
Steps to build and run the demo
1. Download the code from github at https://github.com/kpeeples/a-mq-android-mqtt
2. Download Red Hat JBoss A-MQ from https://www.jboss.org/products/amq.html and place in the installs directory.

3. Download the Android Bundle from http://developer.android.com/sdk/index.html and unzip.
4. Download and start JBoss Developer Studio 7 or the Fuse IDE.
5. Add the Android Developer Plugins http://rgladwell.github.com/m2e-android/updates/
6. Create a Android Virtual Device (AVD) through JBDS in the Android Virtual Device Manager in the Window menu. If the Android Virtual Device Manager does not show on the Window menu then Click on Window > Customize perspective > Command Groups Availability tab. Check the "Android SDK and AVD Manager" option and hit the OK button.
7. Import the Android project in JBDS

8. Run the init.sh to setup A-MQ
9. Start A-MQ in the foreground by executing target/jboss-a-mq-6.0.0.redhat-024/bin/amq
10. Right click on AndroidManifest.xml and Run As Android.
11. Connect to the broker and make sure to use the IP instead of localhost and use a username/password entered from the activemq.xml
12. Enter a destination topic and a test message then click send
13. The message will sent to the topic, read from the topic and then placed in the received field.
References:
[1] http://mqtt.org/
[2] https://www.oasis-open.org/committees/tc_home.php?wg_abbrev=mqtt
[3] https://www.oasis-open.org/committees/download.php/49205/MQTT-OASIS-Webinar.pdf
[4] https://github.com/fusesource/mqtt-client
[5] http://java.dzone.com/articles/android-mqtt-activemq
[6] https://github.com/jsherman1/android-mqtt-demo.git
[7] https://github.com/eschabell/jboss-rock-star-template
[8] https://www.jboss.org/products/amq.html